Delete Your eSIM Before Selling Your iPhone: Full Guide
August 17, 2026
Yes, delete the eSIM before you sell or trade in your iPhone, then factory-reset the device. That sequence keeps your carrier profile off the device permanently and stops a buyer from riding on your cellular plan.
Two things to do right now, in order:
- Remove the eSIM profile through Settings → Cellular, tapping the plan and choosing Delete eSIM.
- Run Erase All Content and Settings and confirm the eSIM erase prompt when it appears.
Deleting an eSIM isn’t a pause button. Once it’s gone from the device, it’s gone for good, and Apple confirms you’ll need to contact your carrier to provision a new eSIM if you want that plan back on any device. That’s the tradeoff: total removal now, a short phone call to your carrier later if you need service restored somewhere else.
Key Takeaways
Deleting the eSIM before a factory reset is the only way to guarantee your carrier profile is fully and permanently removed from an iPhone you’re selling.
| Point | Details |
|---|---|
| Delete the eSIM first | Go to Settings → Cellular, select the plan, and tap Delete eSIM before doing anything else. |
| Back up before erasing | Confirm an iCloud or local backup completed, and sign out of Apple ID and remove Apple Pay cards. |
| Erase confirms eSIM removal | Run Erase All Content and Settings and choose Erase eSIM if prompted, then contact your carrier to reprovision if needed. |
| Handle multiple profiles individually | Dual-SIM or multi-eSIM phones need each profile deleted one at a time, not assumed cleared together. |
| Sell through a data-secure buyback service | Buybackbear wipes devices to the NIST 800-88 standard and issues a free Certificate of Data Erasure with every sale. |
Table of Contents
- How to Delete an eSIM Before Selling Your iPhone
- What Happens When You Delete an eSIM?
- Pre-Delete Checklist Before You Reset Your iPhone
- Do Carriers Handle eSIM Transfers Differently?
- How to Factory Reset an iPhone After Removing the eSIM
- What If You Already Sold Your Phone Without Deleting the eSIM?
- Sell Your iPhone the Fast, Secure Way
- Sources
- FAQ
How to Delete an eSIM Before Selling Your iPhone
The path is the same whether you’re clearing one plan or three. Here’s the sequence:
- Open Settings and tap Cellular (some regional iOS builds label this Mobile Data).
- Tap the specific plan you want to remove. If you have more than one eSIM, work through them one at a time, since deleting one doesn’t touch the others.
- Select Remove Cellular Plan or Delete eSIM, depending on your iOS version.
- Confirm the warning prompt. iOS will tell you this removes the plan from the device; that’s expected and correct.
- Repeat for every remaining eSIM until Cellular shows no active plans.
Apple’s own erase instructions treat this manual step as the recommended starting point before you touch the full device reset, not an optional extra.
Pro Tip: Before you delete anything, screenshot each plan’s name and carrier details, or jot down the ICCID if your carrier app shows one. If you ever need to reprovision the same plan on a new phone, having that on hand saves a slow back-and-forth with carrier support.

What Happens When You Delete an eSIM?
Deleting an eSIM erases the digital profile from that specific device. It isn’t a suspend or a sleep mode. It’s closer to deleting a file than logging out of an app.
That distinction trips people up because deleting the eSIM doesn’t cancel your plan or pull your number off your carrier’s account. Your phone number, your billing, and your service all live with the carrier, not on the device. Removing the eSIM from your old iPhone just means that particular phone can no longer use that profile. If you have a smartwatch or another iPhone sharing the same number through a carrier’s multi-device program, deleting one device’s eSIM won’t automatically wipe it from the others.
One common mix-up on Apple’s own support forums: users assume eSIM Quick Transfer works like a cloud sync, but each eSIM instance is tied to a specific device. Deleting it on one iPhone doesn’t remove your number from a second device or your carrier’s account.
A few things worth keeping straight before you reset anything:
- The eSIM and your phone number are two different things managed by two different systems.
- Erasing the device does not equal canceling service. You still may need to call your carrier.
- Apple’s Erase All Content and Settings flow gives you a choice to erase or keep the eSIM. Choosing “keep” leaves the profile intact for the next owner, which is exactly what you don’t want when selling.
Manual deletion first, then a full erase, closes that gap. It’s belt and suspenders: even if the reset prompt confuses you, the eSIM is already gone.
Pre-Delete Checklist Before You Reset Your iPhone
Before you touch Cellular settings, get your data and accounts squared away. Skipping this step is how people lose two-factor access or discover their photos didn’t make it to the new phone.
- Back up the iPhone. Use iCloud or a local computer backup, and actually verify it completed. A backup that fails silently is worse than no backup, because you’ll assume you’re covered.
- Sign out of iCloud and check your trusted devices list. If this iPhone is your only 2FA device, add a backup number or trusted device before you sign out, not after.
- Remove Apple Pay cards. Go into Wallet and delete each card individually; a factory reset alone doesn’t always guarantee this happens cleanly.
- Turn off Find My. You can’t erase the device for a new owner while Find My is active and linked to your Apple ID.
- Update your trusted phone numbers for two-factor authentication. Community threads on this are consistent: people who skip updating trusted numbers before erasing a device are the same people locked out of their Apple ID a week later.
- Write down your carrier plan details. Note the carrier name and, if visible, the ICCID for the eSIM. It’s a five-second step now that saves a support call later.
Pro Tip: Do the Apple Pay removal and Find My shutdown before you even open Cellular settings. Both are easy to forget once you’re focused on the eSIM, and both can quietly block or complicate later steps.
Do Carriers Handle eSIM Transfers Differently?
Not every carrier treats eSIM transfer the same way, and that matters if you’re moving your number to a new phone rather than just clearing an old one.
Most carriers still rely on a sequential model: deactivate the eSIM on your old device, then activate a new one on the replacement phone, usually with a fresh QR code or an app-based transfer. Fewer support true concurrent setups where a number lives on two devices at once. Industry analysis of eSIM behavior suggests the large majority of carriers still use this one-at-a-time transfer approach rather than cloud-linked or multi-device profiles.
| Scenario | What usually happens | What you should expect |
|---|---|---|
| Selling to a stranger or trade-in service | You delete the eSIM manually before shipping | Buyer gets a clean device with no active plan |
| Moving your number to a new iPhone | Carrier reprovisions a new eSIM on the new device | Brief window with reduced or no service |
| Dual-SIM or multiple eSIM profiles | Each profile must be deleted one by one | Don’t assume deleting one clears the rest |
| Company-issued or MDM-managed iPhone | Admin controls may block removal | Contact IT before attempting a reset |
Companies that deploy iPhones through mobile device management can lock down cellular settings entirely. Apple’s deployment documentation notes that MDM restrictions like AllowESIMModification can stop a user from removing an eSIM, even if they have the passcode.
If you’re on Verizon, AT&T, or T-Mobile and switching devices rather than selling outright, expect to either use their in-app transfer tool or call support for a new QR code. If the iPhone is company property, check with your device administrator before you attempt any of this. Trying to force a reset on a locked-down MDM device usually just leaves you stuck mid-process.
How to Factory Reset an iPhone After Removing the eSIM
Once every eSIM profile is gone, move to the full wipe.
- Go to Settings → General → Transfer or Reset iPhone.
- Tap Erase All Content and Settings.
- Enter your passcode and Apple ID password when prompted.
- If you skipped manual deletion earlier, iOS will now ask whether to erase or keep the eSIM. Choose Erase eSIM.
- Confirm the final warning. The phone will restart as if brand new.
Apple’s reset guidance is clear that this prompt exists specifically because some sellers forget the manual step, so the system gives you a second chance to catch it. Older iOS versions handled this automatically during reset; current versions ask you directly, and choosing “Keep” by mistake means the next owner could theoretically still see a leftover profile.
Pro Tip: Sign out of your Apple ID, disable Find My, and remove the device from your trusted devices list before you tap Erase. Doing it in that order avoids the Activation Lock headache that traps some sellers after the fact, a step Apple’s pre-sale checklist calls out directly.
What If You Already Sold Your Phone Without Deleting the eSIM?
If the phone already left your hands, don’t panic, but move fast.
- Call your carrier immediately. Ask them to suspend or cancel service on that eSIM, then reprovision your number to a new eSIM or physical SIM on a device you control.
- If Delete eSIM was greyed out or failed before you shipped it: update iOS, check for MDM restrictions if it was a work device, or log into your carrier’s app to remove the device remotely.
- Change your important passwords now. Start with your Apple ID and email, since those often gate everything else.
- Update your trusted phone numbers for two-factor authentication if the sold phone was one of your 2FA methods.
- If you’re locked out of 2FA, most carriers and Apple support account recovery flows, though they take longer than a normal login. It’s worth the wait rather than leaving an old eSIM active on a phone you no longer own.
A SIM/eSIM troubleshooting guide covering “no service” errors and activation problems is worth bookmarking if you run into technical snags during any of this, whether it’s your old phone or a new one you’re setting up.
A Seller’s Last-10-Minutes Checklist
The last ten minutes before you box up a phone are where mistakes happen, because you’re rushing to make a shipping deadline. Run through it in this order: confirm the backup actually finished, pull your cards out of Apple Pay, delete every eSIM profile one by one, then run the full erase and watch for the eSIM prompt. Only print the shipping label after the screen shows the Apple logo and “Hello” again, not before.
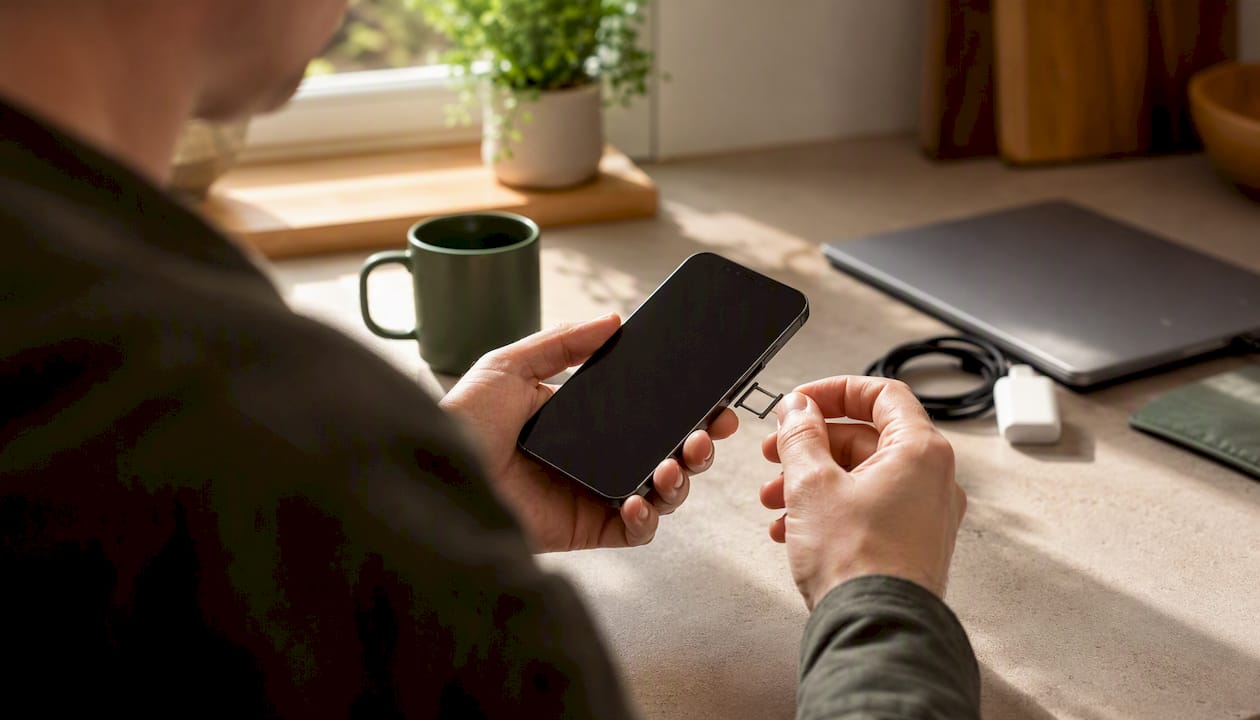
If you’re trading the phone in rather than selling to a stranger, ask what data-wiping standard the buyer uses. A reputable buyback service should be able to tell you outright, and a written certificate of erasure is the kind of thing you want in your inbox, not a verbal promise.
Sell Your iPhone the Fast, Secure Way
Once your eSIM is deleted and your iPhone is wiped, the fastest path to cash is a buyback service that treats data security as a baseline requirement, not an upsell. Buybackbear wipes every device to the NIST 800-88 standard and sends you a free Certificate of Data Erasure, so you have documented proof your personal data and old carrier profile are gone, not just a promise.
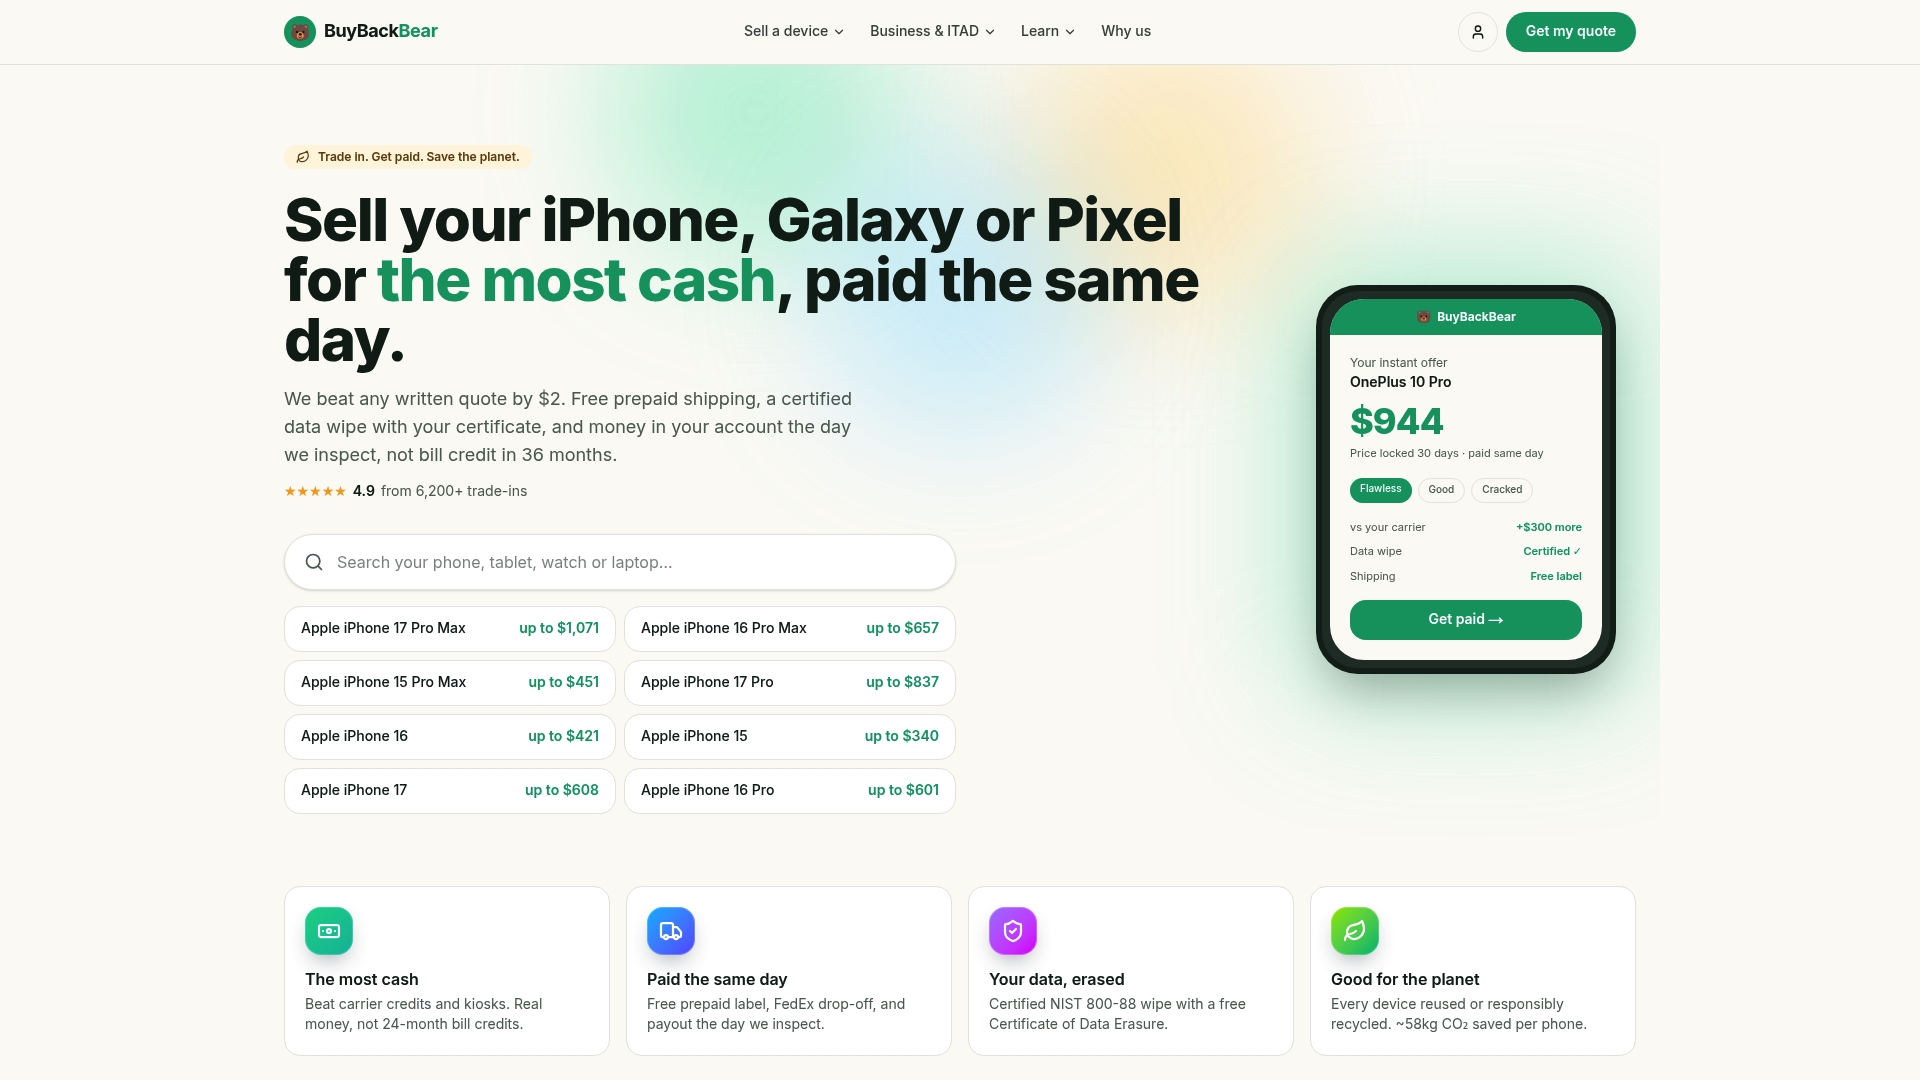
Getting a quote takes minutes: check your model’s value, ship it free with a prepaid label, and get paid the same day Buybackbear inspects it, by PayPal, Venmo, debit card, or bank transfer. No bill credit stretched over years like a carrier trade-in. If you’ve got more than one device to clear out, whether it’s an old iPad, a MacBook, or a drawer full of retired phones, the same sell or trade-in process applies. Head to Buybackbear’s iPhone trade-in page now to see what your device is worth before you finish packing it up.
Sources
- How to erase an eSIM on your iPhone or iPad - Apple Support
FAQ
Should I delete the eSIM before selling my phone?
Yes. Deleting the eSIM through Settings → Cellular before you factory-reset the iPhone guarantees the carrier profile can’t be used by whoever gets the device next.
What happens if I deactivate an eSIM?
The eSIM profile is permanently removed from that specific device, and Apple’s support guidance confirms you’ll need to contact your carrier to provision a new eSIM if you want that plan restored on any device.
How do I delete an eSIM on my iPhone before selling it?
Open Settings, tap Cellular, select the plan you want to remove, then choose Delete eSIM or Remove Cellular Plan and confirm the prompt.
Can I temporarily deactivate an eSIM?
Not really. iOS doesn’t offer a pause or suspend option for eSIM profiles. Deleting one is permanent on the device, so treat it as a final step, not a temporary toggle.
What if I forgot to delete the eSIM before shipping my phone?
Call your carrier right away to suspend or cancel service on that eSIM and ask them to reprovision your number to a new device, then update your passwords and two-factor trusted numbers as a precaution.
Recommended
Ready to sell?
Get an instant quote, free prepaid shipping, and fast cash that beats carrier trade-in credit.
Selling your device here, at a glance
Get my instant quote →- Instant quote in about 30 seconds, price locked while you decide
- Cash by PayPal, Zelle, Venmo or check after inspection, no fees
- Free prepaid label both ways, free return shipping if you decline
- We beat any competitor's written quote by $2
- Cracked screen, broken or won't power on? Still worth real money
- Certified NIST 800-88 data wipe with an emailed certificate
- Trade-in value paid in cash, not a 24-36 month carrier bill credit
- Every model priced: unlocked or carrier-locked, any storage size